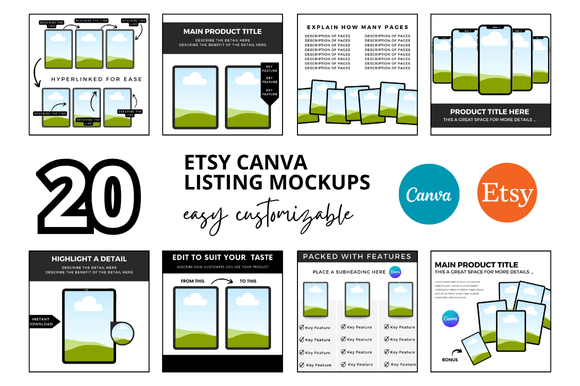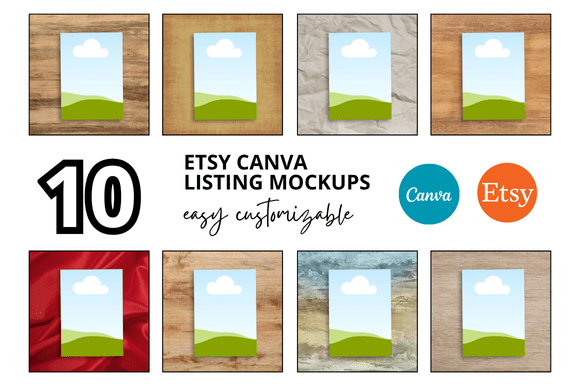
10 Planner Photo Etsy Listings Mockup
If you sell planners on Etsy, you know that listing photos can make or break a sale. A great photo tells potential buyers exactly what your product looks like and how it fits into their life. But not everyone has a camera, a studio, or the time to stage perfect shots. That is where the 10 Planner Photo Etsy Listings Mockup comes in. Think of it as a ready-to-use set of templates where you insert your planner designs and instantly get realistic, professional-looking images. This article explains what this mockup set is, why it matters, and how you can use it to improve your online shop.
What Exactly Is This Mockup Set?
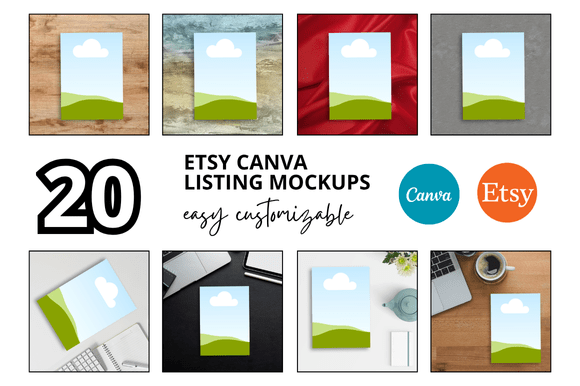
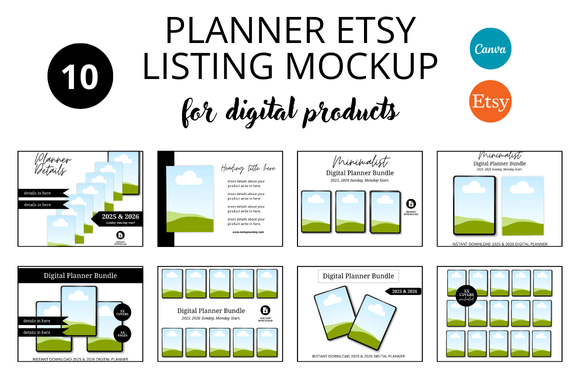
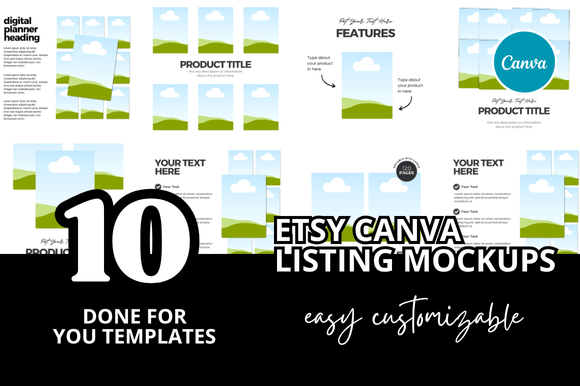
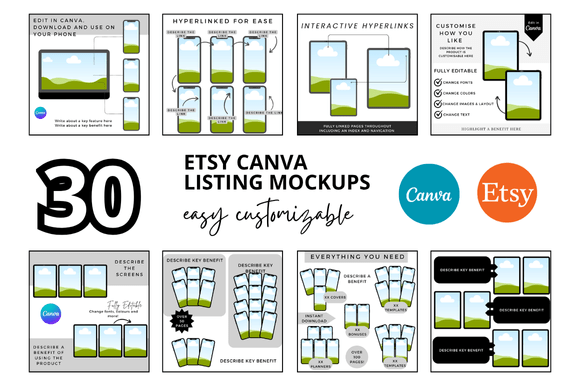
A mockup is essentially a pre-made scene or template that shows your product in a realistic setting. The 10 Planner Photo Etsy Listings Mockup typically includes ten different scenes specifically designed for planners. These scenes might show a planner open on a desk, held in someone’s hand, or surrounded by stationery items like pens, sticky notes, or coffee cups. The mockups are often provided as layered files, such as Photoshop PSD files, or as easy-to-use templates in tools like Canva. You simply place your planner design onto a smart layer, and the mockup adjusts lighting, shadows, and perspective automatically. The result is a polished image that looks like it was taken by a professional photographer.
The Main Purpose and Characteristics
The primary purpose of this mockup set is to save you time and effort while delivering high-quality product images. Instead of staging a photo shoot for each listing, you can use one set of mockups for multiple planners. The key characteristics include high resolution, realistic shadows and lighting, and multiple angles. Some mockups focus on flat lay views, which are popular on Etsy, while others show the planner in use, which helps buyers imagine how they would interact with it. The best sets offer consistency across all ten images, so your shop has a cohesive look. This consistency builds trust with shoppers and makes your brand appear more professional.
Why You Might Be Interested in This Tool
If you are a planner creator, a small business owner, or a digital seller, you likely face the challenge of presenting your products attractively without a big budget. Good product photography can be expensive and time-consuming. The 10 Planner Photo Etsy Listings Mockup directly addresses this need. It helps if you want to launch a new planner quickly, update your shop style, or test different designs without reshooting photos. It also supports your goal of increasing sales, because better visuals often lead to higher conversion rates on Etsy. For bloggers or social media marketers, these mockups are useful for creating promotional posts that show planners in a lifestyle context, which resonates with audiences browsing for organization tools or productivity solutions.
Problems and Goals It Supports
Common problems include lack of photography skills, inconsistent lighting in homemade photos, and the hassle of finding appropriate backgrounds. This mockup set eliminates those hurdles by providing a professional environment. It supports goals like:
- Building a consistent brand image across all listings.
- Saving time so you can focus on creating planner content instead of staging photos.
- Testing new product variations without making new photo shoots each time.
- Meeting Etsy’s photo quality standards for featured listings or promoted ads.
For beginners, these mockups offer a low-pressure way to start selling planners. You do not need advanced design skills—just basic knowledge of your editing tool. For experienced sellers, the set can speed up workflows and help maintain a polished shop aesthetic even as you scale up your product range.
Where and How to Use the Mockups
The 10 Planner Photo Etsy Listings Mockup is versatile enough for many contexts. Naturally, its primary use is for Etsy product listings. Each of the ten scenes can be used for a different planner type, such as daily, weekly, or budget planners. But the applications go beyond just listing images.
Personal and Creative Contexts
If you are a hobbyist who makes planners for fun, you can use the mockups to share your designs on social media or in online planner communities. For instance, you might post a mockup showing your new travel planner on a map-themed background. This creative presentation can attract like-minded enthusiasts and even lead to custom orders. Freelance designers can also incorporate these mockups into their portfolios to showcase their planner design skills to potential clients.
Professional and Commercial Contexts
For small business owners and entrepreneurs, these mockups are a cost-effective marketing asset. You can use them in email newsletters to announce new arrivals, on your Etsy banners, or in advertisements. A set of ten scenes gives you enough variety to avoid repetition while keeping your branding consistent. Educators who create planners for students, such as lesson planners or assignment trackers, can use the mockups to illustrate how the planner looks in an academic setting—perhaps with a coffee mug and textbook nearby. This helps buyers, like teachers, picture the product in their own environment.
Digital and Lifestyle Contexts
Bloggers and content creators often cover topics like organization, productivity, or bullet journaling. A lifestyle shot from the mockup set can serve as a featured image for a blog post about time management. It adds visual appeal and reinforces the content message. Marketers can also repurpose the mockups for Pinterest pins, Instagram posts, or YouTube thumbnails. Because planners are visual products, having realistic images boosts engagement. Even if you sell exclusively digital planners, these mockups help customers see how the PDF or template would look once printed, which reduces hesitation about format or layout.
Beginner-Friendly Examples and Realistic Use Cases
Let’s walk through a simple example. Suppose you create a weekly meal planner. You download the 10 Planner Photo Etsy Listings Mockup, open the file in Canva (a popular graphic design tool), and upload your meal planner design. You choose a mockup that shows a planner open on a kitchen counter with a cup of tea and a small plant. You adjust the inventive design using the drag-and-drop interface. Within minutes, you have a warm, inviting image that suggests the planner is part of a calm cooking routine. You upload this image to your Etsy listing along with a few other mockup angles from the set. Your shop now looks cohesive and professional.
Another use case involves selling a digital academic planner. You select a mockup that features a desk with textbooks and a lamp. This setting implies study and focus. By placing your planner design on that mockup, you instantly connect with students who want to organize their semesters. The mockup’s lighting makes the planner pages look crisp and readable, which is crucial for digital products where buyers need to assess the layout. You can also use one of the mockups as a shop banner to reinforce the academic theme across your store.
For a budget planner seller, a mockup with a financial theme—like a desk with a calculator and a piggy bank—would be ideal. These thematic scenes help align the image with the product’s purpose, making the listing more compelling. The set’s variety ensures you have one mockup that fits most planner niches.
Important Things to Consider Before Using
Before you start using the 10 Planner Photo Etsy Listings Mockup, there are a few practical points to keep in mind. First, check the file format. If you use Photoshop, look for PSD files with smart objects. If you prefer free tools, many mockup sets also come in Canva templates or with PNG files that you can overlay manually. Ensure the resolution is high enough for Etsy’s image requirements—at least 2000 pixels on the longest side is a good standard.
Licensing and Commercial Use
Always review the license that comes with the mockup set. Most sets allow commercial use, meaning you can use the images in your Etsy listings or marketing. But some may restrict reselling the mockups themselves or using them for physical products that compete directly with the mockup creator. Read the terms carefully to avoid issues down the line. If you are hiring a designer, ask for the license details upfront. This ensures your use case is covered, whether you sell digital downloads, physical printed planners, or both.
Customization and Brand Fit
Consider how well the mockup style matches your brand. A rustic, wood-themed mockup might work for a vintage-style planner but not for a modern, minimalist design. Look at the color palette and props in each scene. If the mockup includes elements like coffee cups or sticky notes, make sure they do not distract from your planner. You can often remove or adjust these elements if you have editing skills, but some sets may limit modifications. For best results, choose a mockup set that aligns with the aesthetic you want to project.
Variety and Adaptability
While ten mockups offer good variety, you might need more if you have many planner types. Some sets include different orientations (portrait or landscape) and multiple color backgrounds. If your planners come in various formats, such as A5, letter size, or square, confirm that the mockup supports each size. A versatile set will save you from creating custom templates later. Also, check whether the mockups are suitable for both digital and physical planners. Some mockups show the planner in a realistic room setting, which works well for physical products, while others are closer to flat lay scenes that highlight the design itself. Both are useful, but choose based on your primary sales format.
Practical Observations for New Users
When you first open a mockup set, take a few minutes to explore each scene. Note which ones best highlight your planner’s cover, inside pages, or special features like spiral binding. You do not have to use all ten images for every listing; instead, pick the two or three that show your product most clearly. For example, if your planner has a unique cover design, use a mockup that focuses on the front. If the interior layout is the selling point, choose an open-book scene that reveals the pages. This selective approach keeps your listings focused and reduces clutter.
Also, consider staging the mockups to tell a story across your shop. For instance, use one mockup for your main listing image, another for a lifestyle shot, and a third for a detail view. This sequence mimics how a buyer might naturally examine a product in a store. For social media, you can group four mockups into a carousel post to showcase different planners from your collection. The key is to use the set creatively while maintaining a consistent visual language.
Maintaining Authenticity in Your Images
Although mockups are simulated, you want the final images to feel genuine. Avoid over-editing or using effects that make the photo look artificial. The best mockup sets have natural lighting and subtle shadows that mimic real environments. When you place your design, ensure it fits the perspective and should not look stretched or tilted incorrectly. Most modern mockups handle this automatically, but it is worth double-checking. Authentic-looking photos build trust with buyers, especially on Etsy where personal shop feel matters. If you can, add a small custom detail, like a handwritten note in the mockup, to personalize the image without disrupting the scene.
Final Thoughts
The 10 Planner Photo Etsy Listings Mockup is a straightforward solution for anyone who wants to elevate their planner shop without investing in a full photography setup. It addresses the common challenge of creating appealing product images quickly and consistently. Whether you are a beginner launching a first listing or a professional refining your brand, this tool fits into your workflow with minimal hassle. By understanding what mockups offer, where to use them, and what to check beforehand, you can make the most of this resource. Ultimately, your planners deserve to be seen in the best light, and a good mockup set helps you achieve that every time you hit “publish” on a new listing.
Start by exploring one piece, try placing a design, and see how it transforms your shop. With practice, you will refine your selection and customization, making each image work harder for your planners. The result is a more polished, professional presence that attracts the right customers and supports your creative or business goals.